Shopping Cart
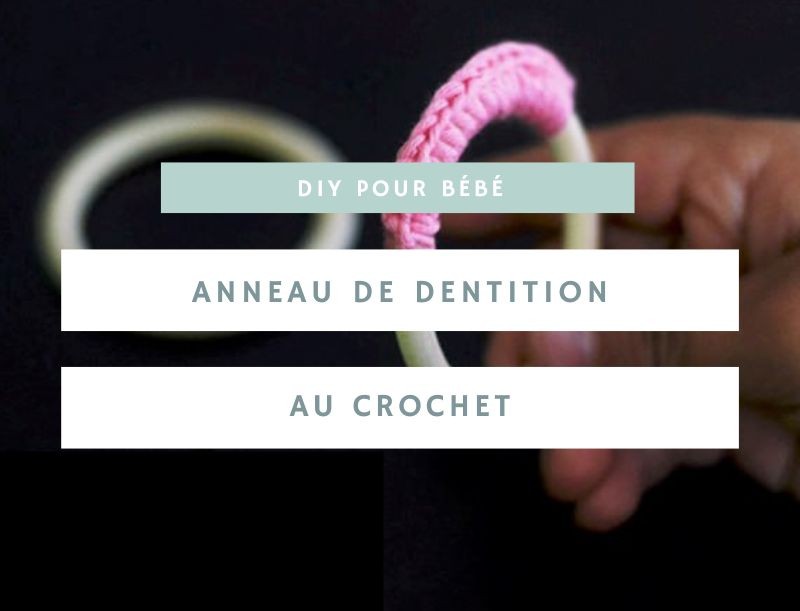
DIY - Crocheted Teething Ring
Baby is starting to teethe and the whole family is feeling the effects at night. To help soothe them, you can raise their mattress at night, give them a homeopathic remedy, or apply a soothing gel to their gums. You can also give them a teething ring to chew on, which helps the teeth push through the gum. There are many models available, from simple to high-tech — some have little ridges to massage the gums, while others contain a gel that can be chilled.
As you know, here at Maman et Bébé Nature, we prefer wooden baby toys over plastic ones. That's why we'd like to show you how to make a homemade teething ring using natural materials (wood and cotton thread). This teething ring is crocheted, but it's genuinely very simple and accessible to everyone — even complete beginners. Another bonus: it's very quick to make.
Materials needed to make your crocheted teething ring
Some canvas thread
A 3mm crochet hook
A pair of scissors
A wooden ring
Step-by-step guide to making your own crocheted teething ring
If you already have some basic crochet knowledge, all you need to do is work a series of single crochet stitches around the inside of the ring, covering about one third of it — and that's it!
For everyone else, we'll walk you through it step by step. As you'll see from the photos, the tutorial was made with a thicker thread and a 4mm hook — this is simply to make the steps clearer in the pictures; the result is chunkier and less neat than with a finer thread.
The first thing to know is that your crochet hook should always be in your right hand, and you guide the thread with your left hand.
Starting your crocheted teething ring
To begin your work, position your thread as shown in the photo (the ball of yarn is on the left). This forms a small loop.

Make a yarn over (wrap the thread around your hook) and pull it through the loop.

Your work has now begun — you're ready to crochet into the ring.

Crocheting single stitches into your ring
Place your ring in front of your thread, to the left of your crochet hook. You'll pick up the thread using your hook, passing it through the inside of the ring.

The thread forms a small bridge in front of the ring. Then, make a yarn over by picking up the thread with your hook behind the ring.

Now bring the thread under the small bridge and under the loop you formed at the start.

There you go — you've completed your first single crochet stitch inside the ring!

Continue working single crochet stitches until you reach one third of the way around the ring.
Finishing your work
Make a yarn over and pull it through your loop.

Cut the thread and pull the loop tight.

Your work is now finished.

All that's left is to "weave in the ends" by threading them under the row of stitches.

And your crocheted teething ring is complete!


If you make your own crocheted teething ring, feel free to share your creation with us on Instagram by tagging us or using the hashtag #DIYMamanetBBNature!
Leave your reply Cancel Reply