Shopping Cart

The paper caterpillar that could move
This Wednesday of the school holidays, we bring you an activity that will delight your children! It is suitable for children from the moment they are able to use a pair of scissors — so around age 4 or 5, depending on their fine motor skills. It will mostly appeal to younger children, but if you have several children, it will win over even the older ones. We are going to show you how to make a paper caterpillar that moves with a straw. The little ones will be amazed to watch the caterpillar inch along, whilst the older ones, if there are a few of them, will love organising races with their respective caterpillars.
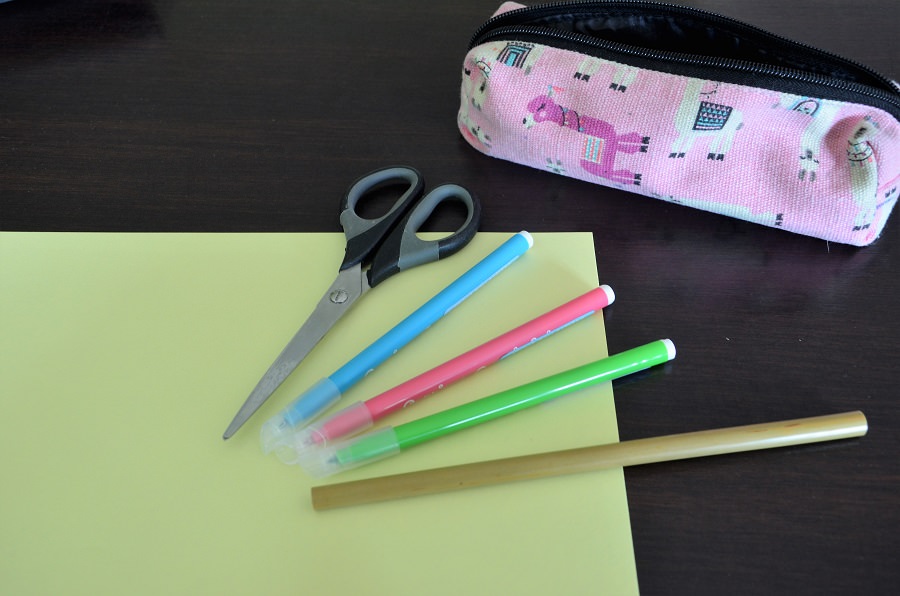
What materials do you need to make a paper caterpillar?
A sheet of paper
Felt-tip pens
A pair of scissors (with rounded tips for younger children)
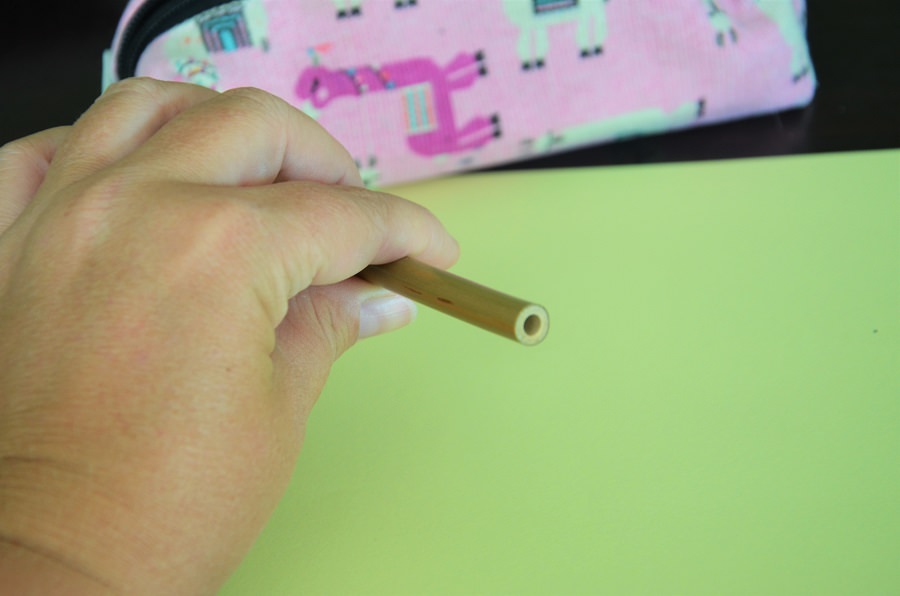
A straw (preferably bamboo or stainless steel, as these can be reused almost indefinitely!)
How to make paper caterpillars?
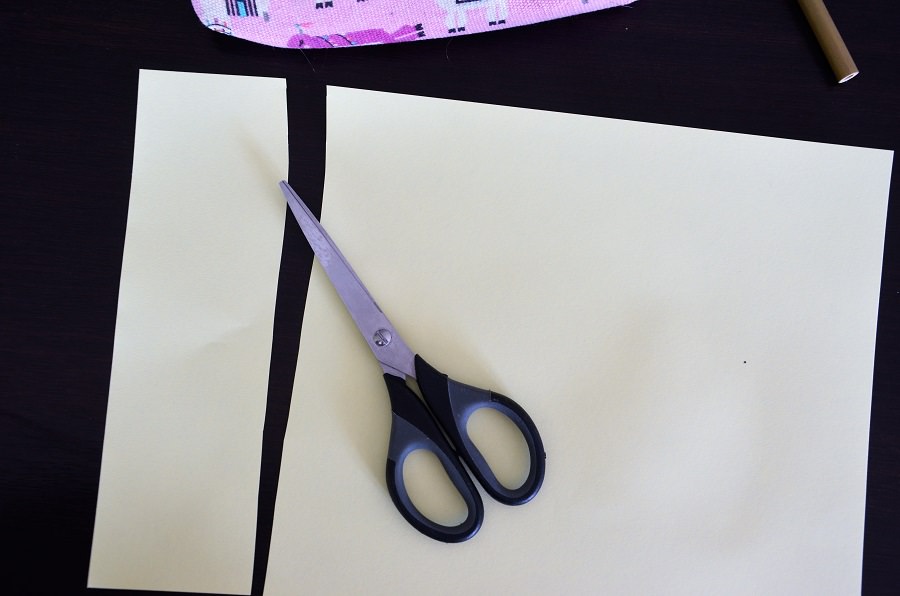
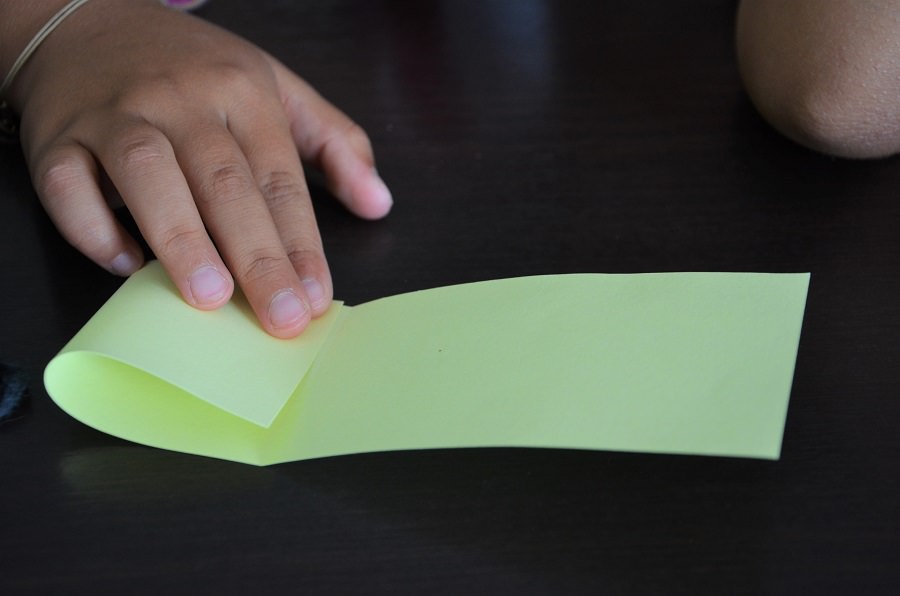
Cut a strip of paper approximately 6cm wide across the width of your A4 sheet.
Fold it in half.
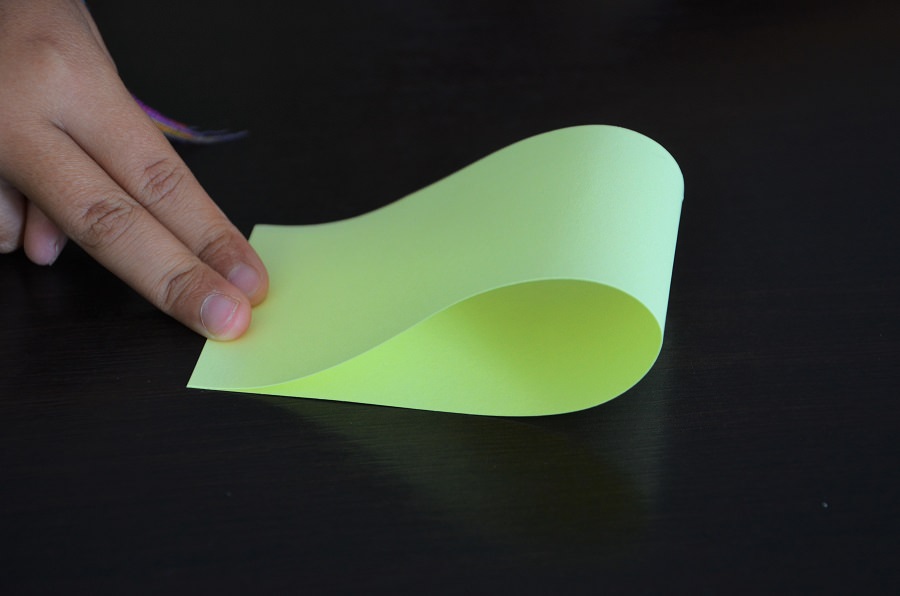
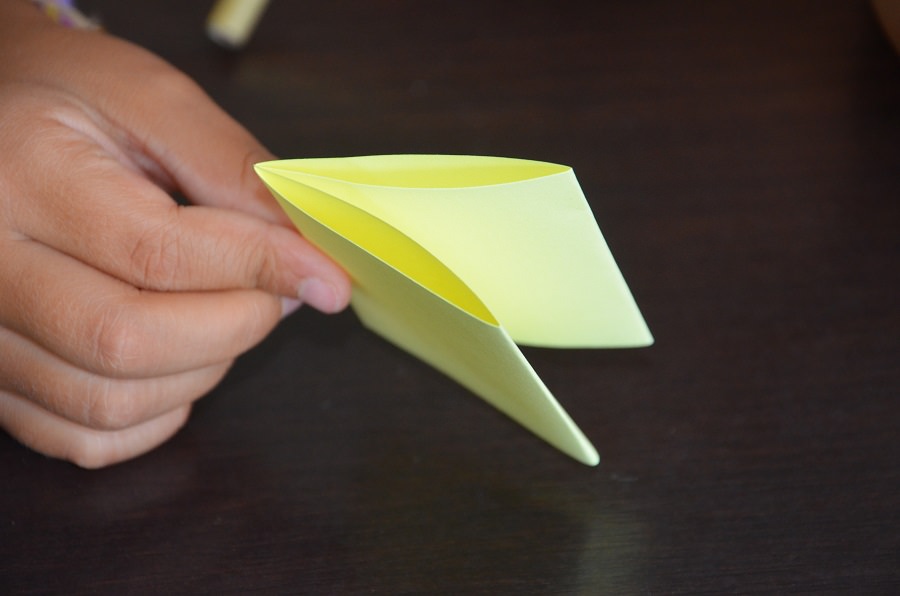
Open the strip out and fold both sides in to meet the centre line.
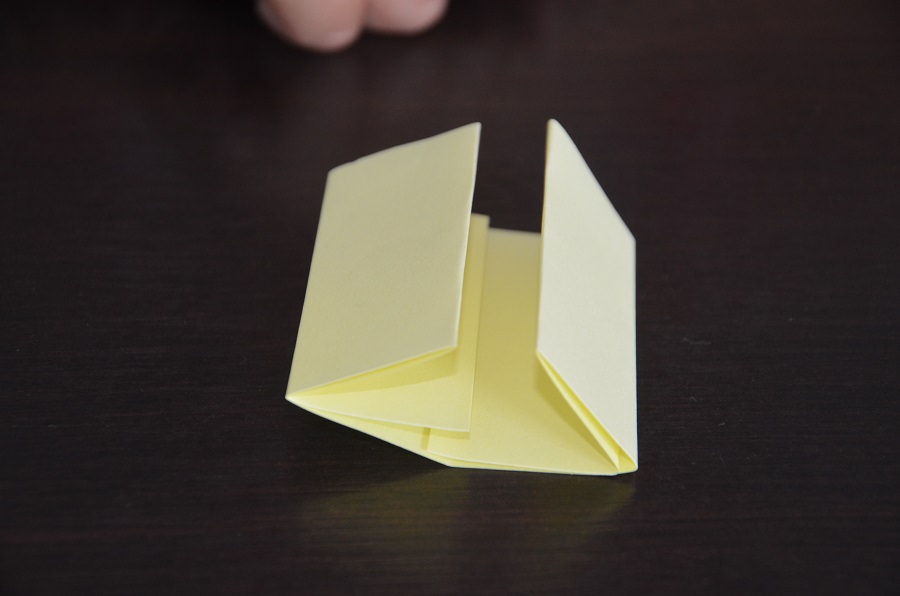
Once both edges are folded in, fold in half again down the middle.
Fold the edges to the centre once more.
Using a felt-tip pen, draw the outline of your caterpillar. We chose to add legs to ours — this is entirely optional, but we thought it looked cuter. If your child is young, it will likely be simpler to do without the legs.
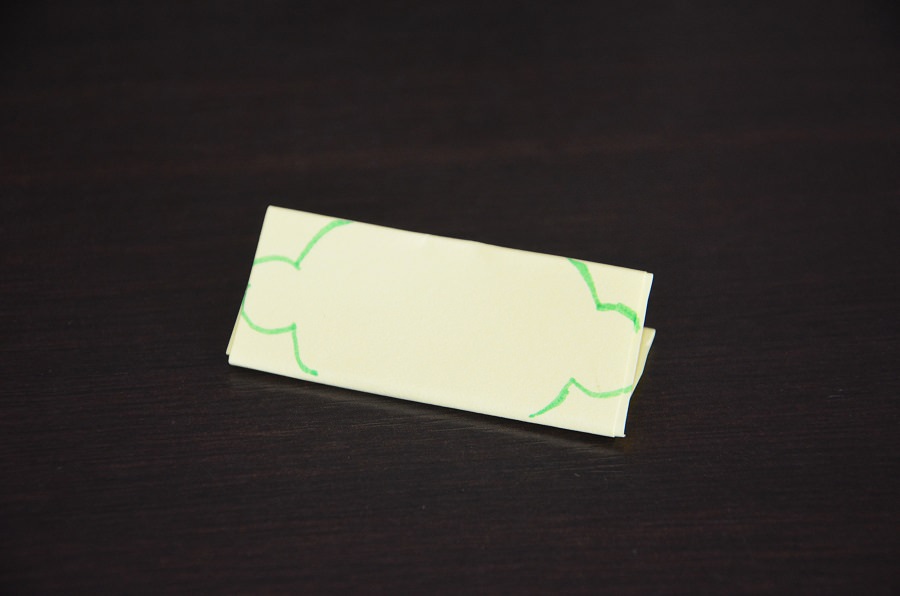
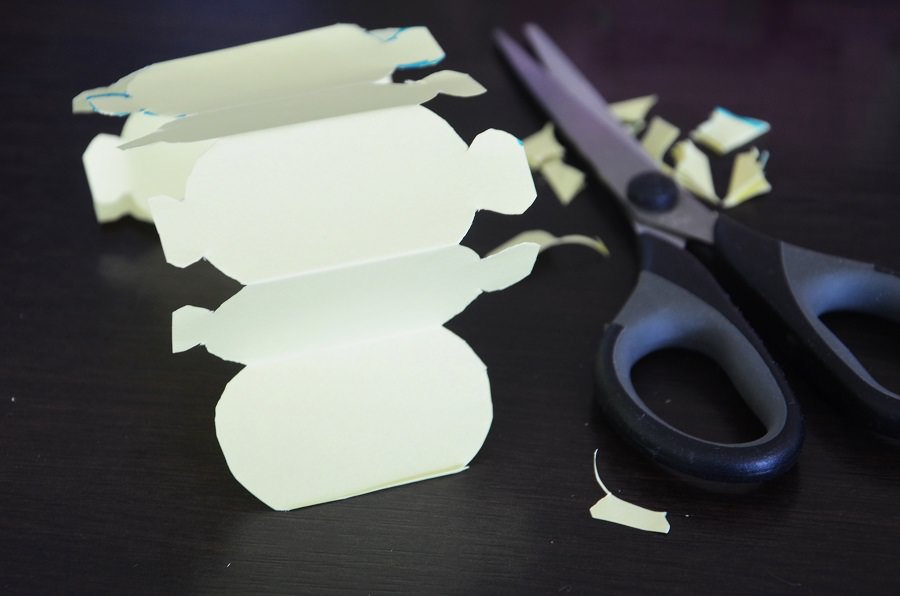
Then cut along the outline you have drawn, and unfold your caterpillar.
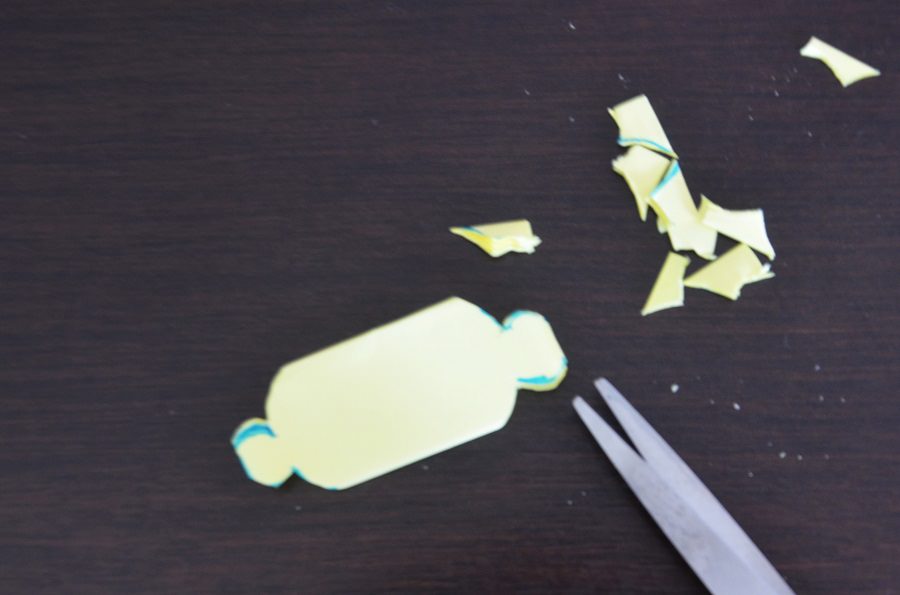
If you added legs, cut off the legs on the first segment, which represents the head.
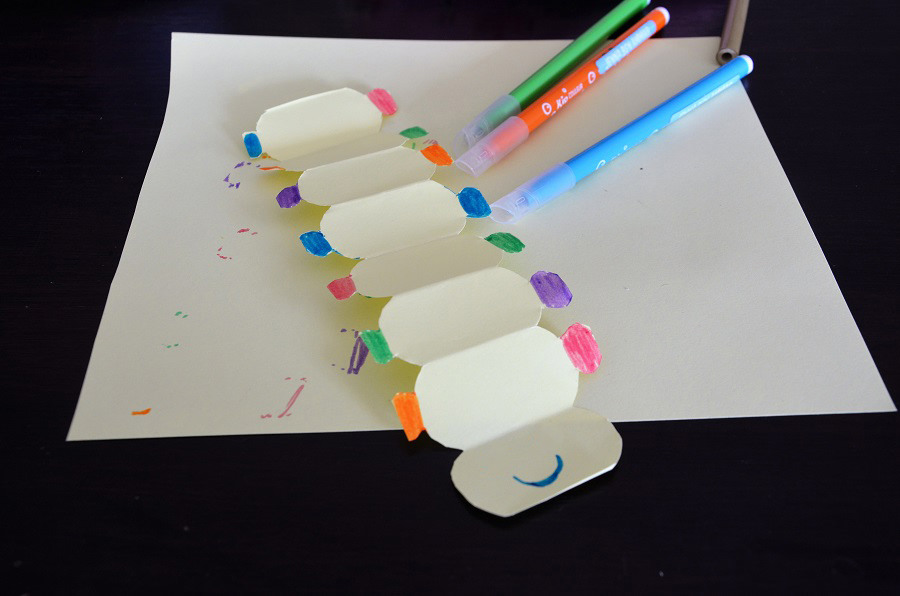
Decorate your caterpillar by colouring the legs, drawing a face, or decorating the body. Let your creativity run wild — and most importantly, let your children's creativity shine!
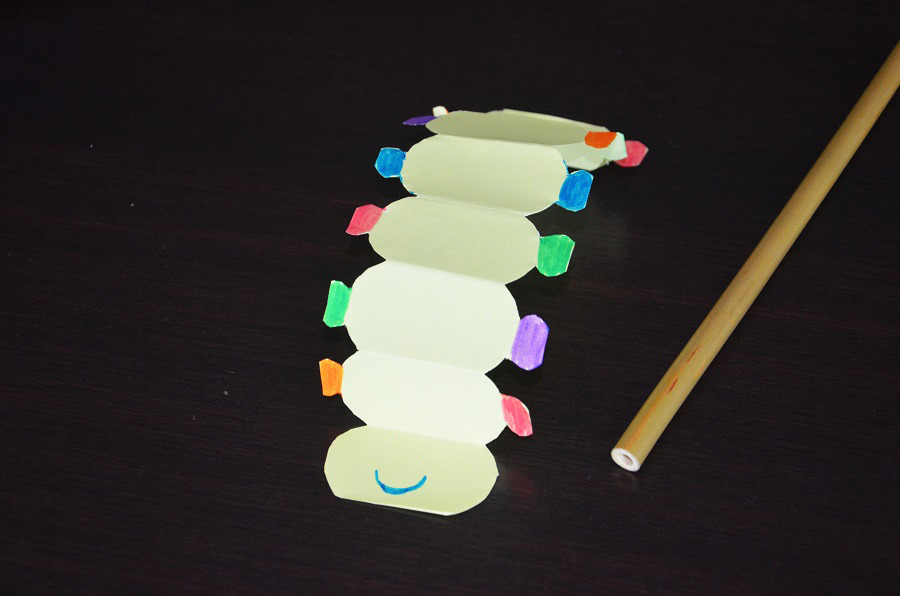
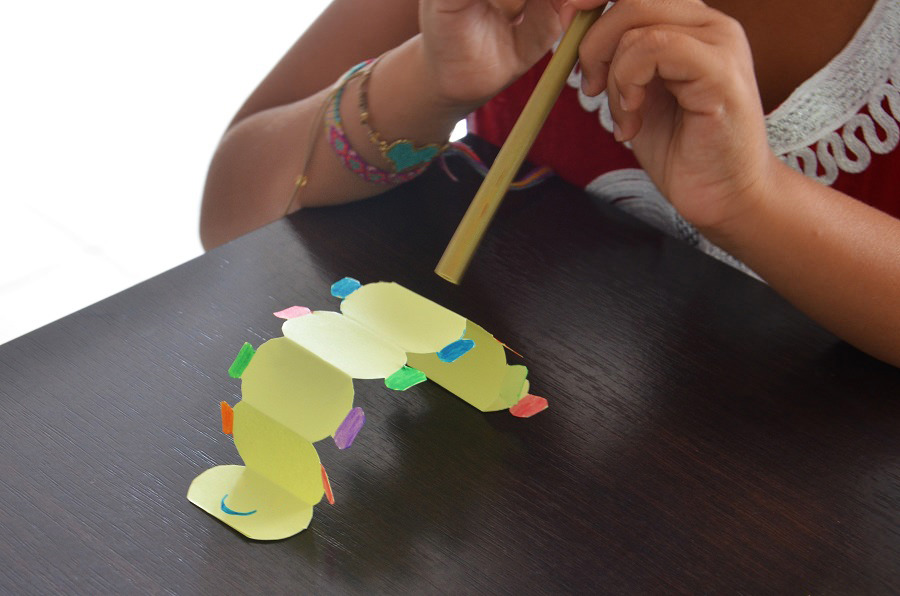
And there you have it — your paper caterpillar is ready! All you need to do now is blow on it with the straw to watch it move!
We hope you enjoyed this little activity. It is perfect for keeping children occupied on a rainy day!!!
Leave your reply Cancel Reply